Store-bought pet treats can be expensive, loaded with preservatives, and filled with ingredients you can’t pronounce. Creating homemade dehydrated treats for your cats and dogs offers a healthier, more affordable alternative that puts you in complete control of what goes into your pet’s snacks.
Dehydrating removes moisture from foods while preserving their nutritional value and natural flavors. This process creates shelf-stable treats that your pets will love, without the artificial additives found in many commercial options. Whether you want to use up excess meat from dinner prep or create special training rewards, homemade dehydrated treats can meet your pet’s specific dietary needs and preferences.
The process is simpler than you might think. With basic equipment and a few hours of drying time, you can create batches of nutritious treats that will keep your furry friends happy and healthy. Let’s explore everything you need to know about making dehydrated treats at home, from choosing the right ingredients to proper storage techniques.
Benefits of Homemade Dehydrated Pet Treats
Complete Ingredient Control
When you make treats at home, you know exactly what your pet is eating. Commercial treats often contain fillers, artificial colors, and preservatives that provide no nutritional benefit. Homemade versions let you select high-quality proteins and avoid ingredients that might trigger allergies or sensitivities.
Cost-Effective Solution
A single bag of premium pet treats can cost $15-20, while the same amount of homemade treats might cost just $3-5 to produce. Buying meat in bulk or using leftovers from your own meals makes the savings even greater. Over time, these cost differences add up significantly, especially for households with multiple pets.
Longer Shelf Life
Properly dehydrated treats can last several months when stored correctly, compared to fresh treats that spoil within days. The dehydration process removes moisture that bacteria need to grow, creating naturally preserved snacks without chemical additives.
Customization for Special Needs
Pets with allergies, kidney disease, or other health conditions often require specialized diets. Making your own treats allows you to accommodate these needs perfectly. You can avoid problematic ingredients while incorporating beneficial ones recommended by your veterinarian.
Essential Equipment for Dehydrating Pet Treats
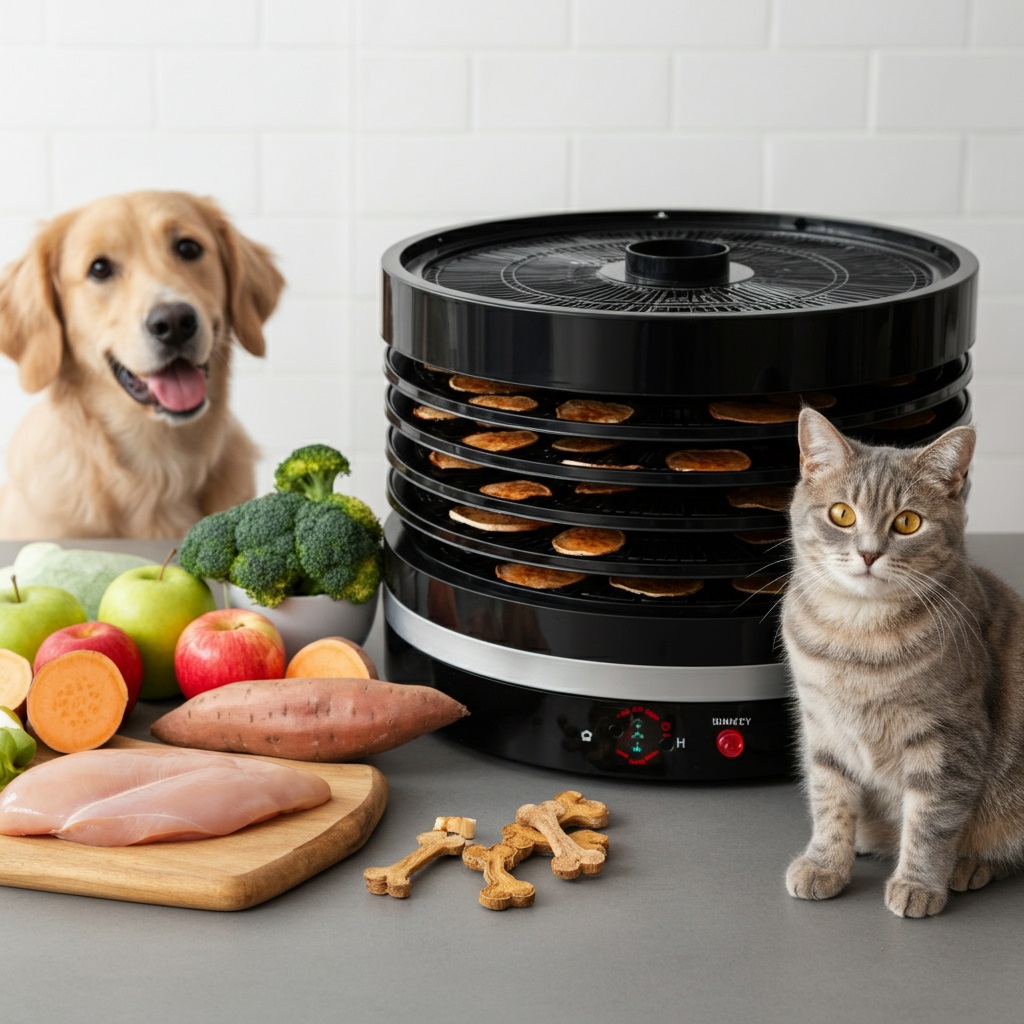
Food Dehydrator
A dedicated food dehydrator offers the most consistent results. Look for models with adjustable temperature controls and multiple trays. Units with removable trays make cleaning easier, while timer functions prevent over-drying. Expect to spend $50-150 for a quality dehydrator suitable for pet treat production.
Oven Alternative
Your regular oven can substitute for a dehydrator, though it requires more attention. Set the temperature to its lowest setting (usually 170-200°F) and prop the door slightly open to allow moisture to escape. This method uses more energy but works well for occasional treat making.
Sharp Knife and Cutting Board
Consistent slice thickness ensures even drying. A sharp knife helps you create uniform pieces, while a dedicated cutting board for pet food prevents cross-contamination with human food preparation areas.
Storage Containers
Airtight containers preserve finished treats and prevent moisture absorption. Glass jars, vacuum-sealed bags, or food-grade plastic containers all work well. Label containers with contents and dates to track freshness.
Best Ingredients for Cats and Dogs
Protein Sources
Lean meats work best for dehydration. Chicken breast, turkey, lean beef, and fish provide high-quality protein without excess fat that can spoil. Remove all visible fat before slicing, as it doesn’t dehydrate well and can turn rancid.
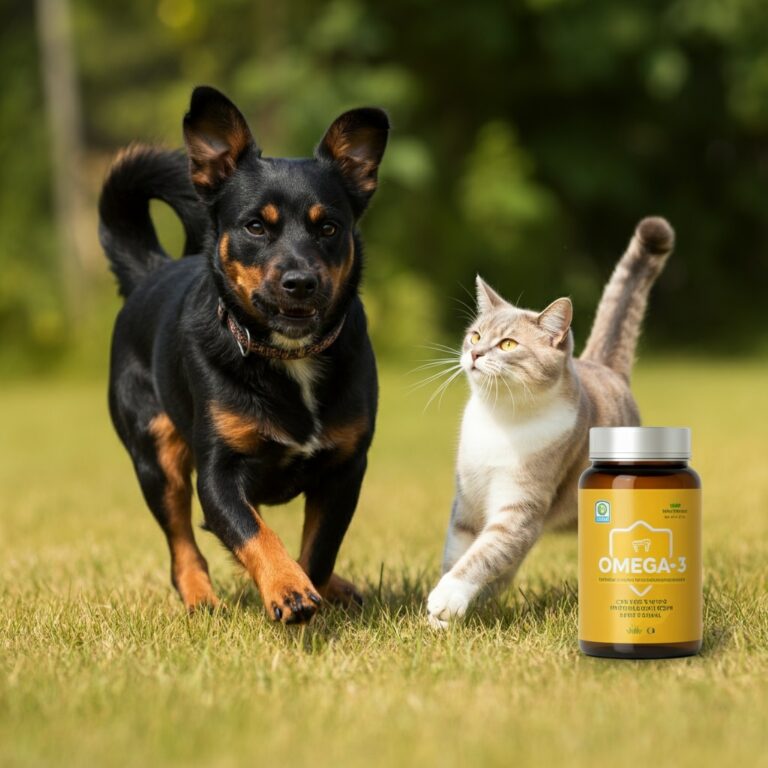
For cats, fish options like salmon, tuna, or sardines offer omega-3 fatty acids that support coat health. Dogs typically enjoy beef liver, chicken hearts, or turkey gizzards, which provide concentrated nutrition and intense flavors.
Organ Meats
Liver, kidney, and heart contain concentrated vitamins and minerals that pets crave. These organs pack intense flavors that make excellent high-value training treats. Use organ meats sparingly, as they’re rich and can cause digestive upset if overfed.
Fruits and Vegetables for Dogs
Dogs can enjoy dehydrated sweet potato slices, apple pieces (without seeds), bananas, and carrots. These provide natural sweetness and fiber. Always remove seeds, pits, and cores, as these can be toxic or pose choking hazards.
Cat-Specific Considerations
Cats are obligate carnivores and derive little nutritional benefit from fruits and vegetables. Stick to meat-based treats for felines. Fish, poultry, and small amounts of organ meat align with their natural dietary needs.
Step-by-Step Dehydration Process
Preparation Phase
Start with fresh, high-quality ingredients. Freeze meat for 24-48 hours before use to eliminate potential parasites, then thaw completely before slicing. Pat ingredients dry with paper towels to remove surface moisture.
Continues after advertising
Cut meat into uniform strips about 1/4 inch thick. Thicker pieces take longer to dry and may spoil before the center dehydrates completely. Thinner pieces can become overly brittle and lose their appeal.
Temperature and Timing Guidelines
Set your dehydrator to 145-160°F for meat products. Higher temperatures can cook the meat instead of dehydrating it, while lower temperatures may not remove moisture quickly enough to prevent spoilage.
Drying times vary based on thickness, moisture content, and desired texture. Thin chicken strips might finish in 4-6 hours, while thicker beef pieces could take 8-12 hours. Check progress every few hours and rotate trays if your dehydrator doesn’t have a fan.
Testing for Doneness
Properly dried treats should be leathery but not brittle. They shouldn’t show any moisture when bent or squeezed. If you can see or feel wet spots, continue dehydrating. Over-dried treats become too hard and may crack teeth, while under-dried treats can spoil quickly.
Safety Considerations and Best Practices
Food Safety Fundamentals
Use clean equipment and wash hands thoroughly before handling ingredients. Keep raw meat separate from other foods and clean all surfaces with bleach solution after use. Store finished treats in clean, dry containers to prevent contamination.
Temperature Control
Maintain proper temperatures throughout the dehydration process. Temperatures below 140°F may allow harmful bacteria to survive, while excessive heat can create harmful compounds. Use a reliable thermometer to verify your equipment’s accuracy.
Avoiding Toxic Ingredients
Never use onions, garlic, grapes, raisins, chocolate, or artificial sweeteners in pet treats. These common ingredients can be toxic to cats and dogs. When in doubt, stick to single-ingredient treats made from known-safe foods.
Storage and Shelf Life
Proper Storage Techniques
Store completely cooled treats in airtight containers away from light and heat. Vacuum sealing extends shelf life by removing oxygen that can cause rancidity. Divide large batches into smaller portions to minimize air exposure when accessing treats.
Shelf Life Expectations
Well-dehydrated treats stored properly can last 2-6 months at room temperature. Refrigeration extends this to 6-12 months, while freezing can preserve treats for up to two years. Always inspect treats before feeding and discard any showing signs of mold or off odors.
Signs of Spoilage
Watch for changes in color, texture, or smell. Mold appears as fuzzy growths, usually green or white. Rancid fats develop off odors and may cause digestive upset. When in doubt, throw treats out rather than risk your pet’s health.
Troubleshooting Common Issues
Uneven Drying
Pieces finishing at different rates usually indicate inconsistent thickness or overcrowded trays. Cut ingredients more uniformly and leave space between pieces for air circulation. Rotate trays periodically if your dehydrator has hot spots.
Too Hard or Too Soft
Adjust drying time rather than temperature to fix texture issues. Hard treats need less time, while soft treats need longer drying. Some pets prefer softer textures, so experiment to find what your pet enjoys most.
Poor Flavor Acceptance
Some pets need time to adjust to new treats. Start by offering small pieces alongside familiar treats. You can also try different proteins or slightly shorter drying times for more tender textures.
Creative Recipe Ideas
Training Treats
Make tiny, uniform pieces perfect for training sessions. Cut meat into 1/8-inch cubes before dehydrating. These high-value rewards work well for teaching new behaviors without filling up your pet during training.
Dental Health Treats
Create strips that encourage chewing to help clean teeth naturally. Cut sweet potatoes into long, thin strips for dogs, or make slightly thicker meat strips that require more chewing time.
Special Occasion Treats
Combine different proteins or shapes for variety. Use cookie cutters on partially dried meat to create fun shapes, or layer different meats for visual appeal during special celebrations.
Read More👉 Tips for Grooming Double-Coated Breeds
Making Pet Treats That Last
Creating homemade dehydrated treats transforms your relationship with pet nutrition while saving money and ensuring quality. Start with simple single-ingredient treats to master the technique, then experiment with combinations your pets enjoy most.
The time investment pays off through healthier pets, reduced treat costs, and the satisfaction of providing wholesome nutrition. Your cats and dogs will appreciate the attention to their dietary needs, and you’ll have peace of mind knowing exactly what goes into their favorite snacks.
Remember to introduce new treats gradually and consult your veterinarian about appropriate quantities for your pet’s size and dietary requirements. With practice, you’ll develop a routine that provides your furry friends with delicious, nutritious treats year-round.